Aotea Harbour, Aotearoa ~ New Zealand
Kūmara was a very important food source for our tupuna (ancestors). They were preserved in Aotea by using kūmara pits and ponga storehouses lined with fern, which absorbed moisture and helped with insulation. This practice was still occurring in the 1990s as an effective way of storing large amounts of kūmara and rīwai (potato).
Kūmara is rated as one of the most nutritious of all vegetables. It is a good source of antioxidants, dietry fibre, Vitamin C, Vitamin A and Vitamin E. It is also naturally gluten free.
Click HERE for kūmara recipes
The following steps describe how to grow kūmara today using traditional methods:
-1-
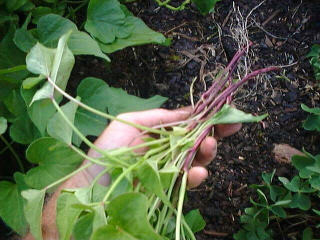
Create a papa kūmara (seedling) bed to source your plants. Do this by picking the best of last year’s kūmara tubers in early Spring and planting them in small rows. Once sprouted, pull the plants from the tubers in the seedling bed. As you take from the seedling bed you will find that your second lot will be stronger.
Create a papa kūmara (seedling) bed to source your plants. Do this by picking the best of last year’s kūmara tubers in early Spring and planting them in small rows. Once sprouted, pull the plants from the tubers in the seedling bed. As you take from the seedling bed you will find that your second lot will be stronger.
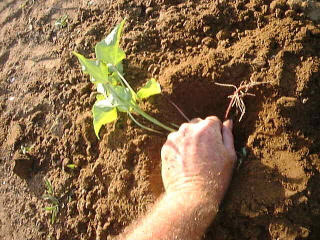

-2-
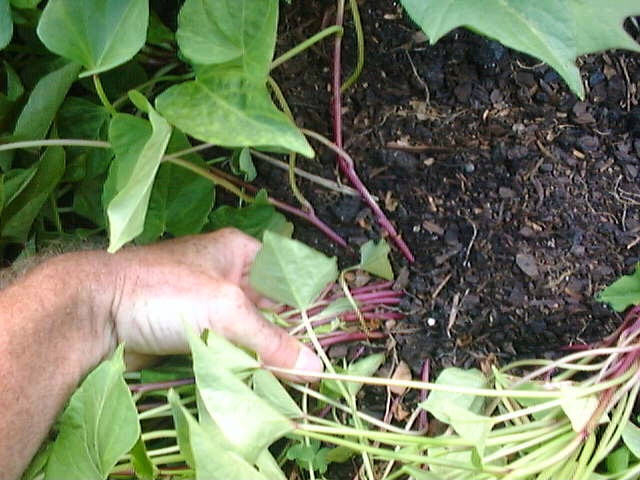
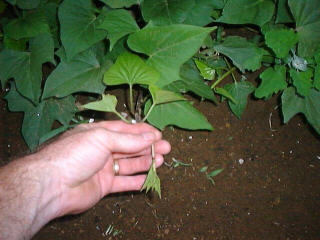
Push the seedlings firmly into the ground with the roots facing towards the east (this is a very important step). Cover the roots and mound the dirt up to the first leaf. Make sure the plants are well watered on a regular basis until they are well established (about a week). Expect them to turn yellow for a little while (3-4 days) before regaining their natural healthy green colour.
Push the seedlings firmly into the ground with the roots facing towards the east (this is a very important step). Cover the roots and mound the dirt up to the first leaf. Make sure the plants are well watered on a regular basis until they are well established (about a week). Expect them to turn yellow for a little while (3-4 days) before regaining their natural healthy green colour.
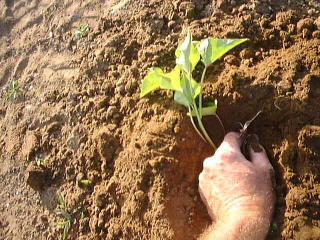
Make sure to start mounding the dirt higher once the kūmara begins to show signs of growth.
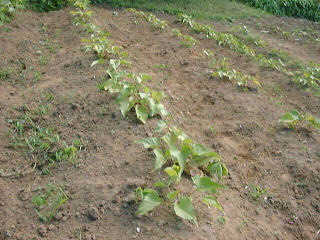
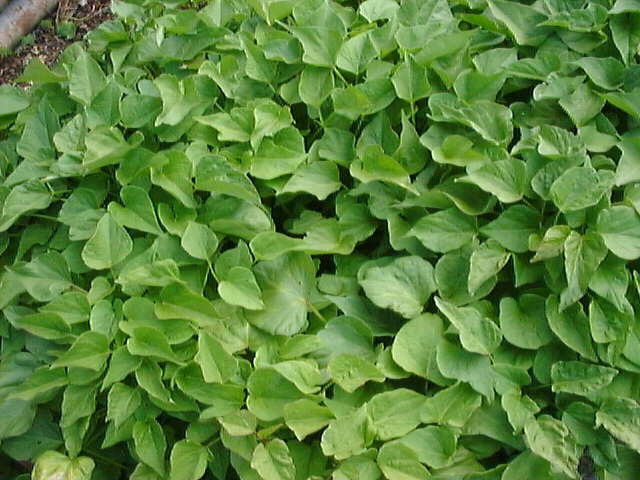
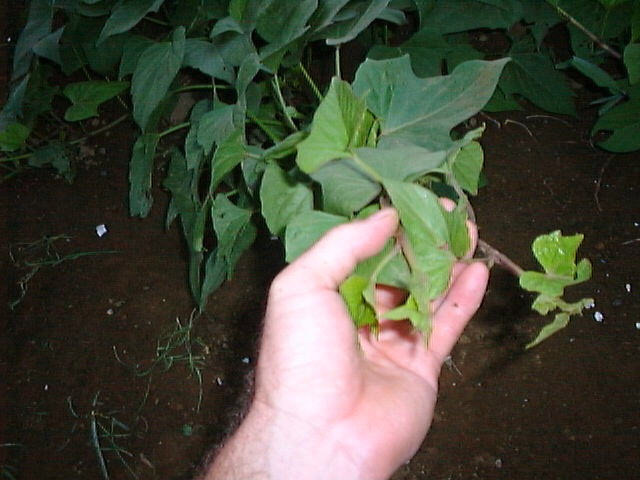
This is how they should look after 3-4 weeks. Keep the mounds free of weeds. Reduce watering because the kūmara is a sun-loving plant. The hotter it becomes the more the plant will develop.
-4-
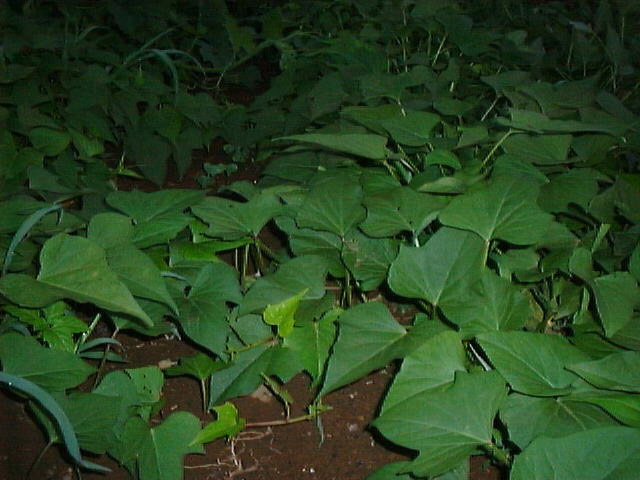
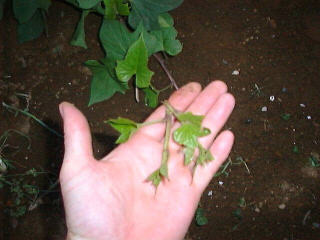
As the plants start to spread and meet each other (approx. 3 months) it is time to start plucking the ends to ensure that the growth goes to the tuber and not to the leaves (just like pruning). As you break off the tips a white creamy substance will ooze out of the plant – don’t worry, this does not harm the plant.
As the plants start to spread and meet each other (approx. 3 months) it is time to start plucking the ends to ensure that the growth goes to the tuber and not to the leaves (just like pruning). As you break off the tips a white creamy substance will ooze out of the plant – don’t worry, this does not harm the plant.
-5-
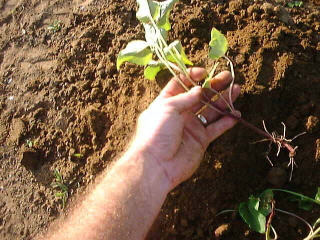
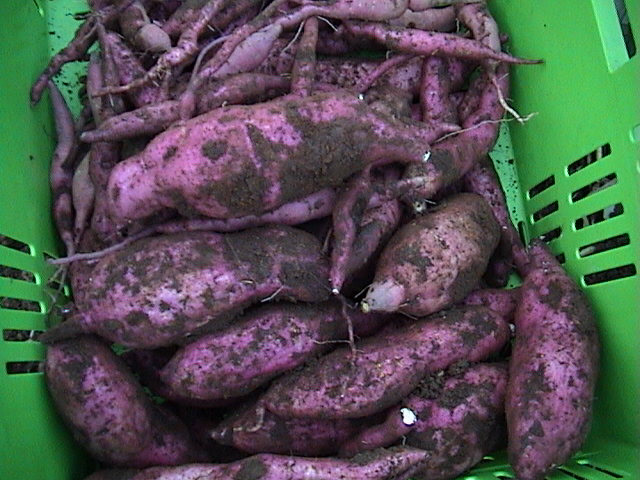
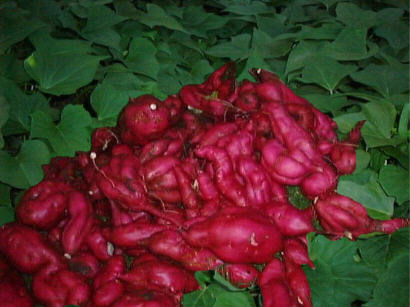
After about six months they should be fully matured and ready for harvesting. The leaves stay healthy and strong so the only way to check is by digging the dirt. Do this before the frost (in New Zealand this is usually March-May).
After about six months they should be fully matured and ready for harvesting. The leaves stay healthy and strong so the only way to check is by digging the dirt. Do this before the frost (in New Zealand this is usually March-May).
Send us your pledge of support or contact us below:
Thank you!